Table of Contents
Do you know how to change a box cutter blade? If not, don’t worry – we’re here to help! In this step-by-step guide, we will show you how to do it quickly and easily. Box cutter blades can become dull over time, so it’s important to know how to replace them when needed. Keep reading for instructions on how to do it yourself!
Changing a box cutter blade is a quick and easy process, and it only takes a few minutes. You don’t even need some basic tools like pliers, screwdrivers. You only prepare the new replacement blades.
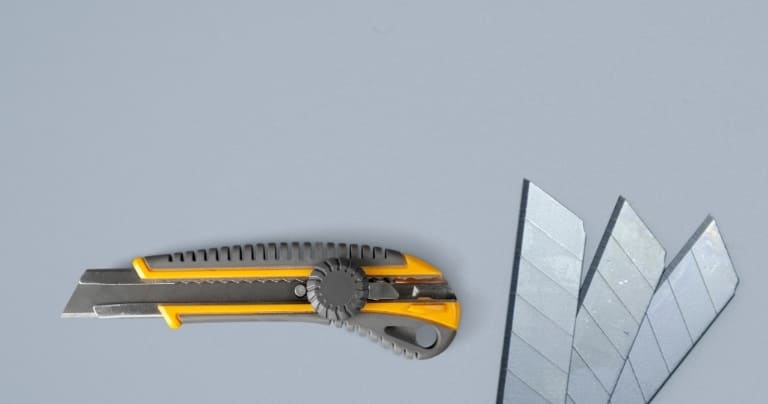
Open the box cutter
Before you can change the blade, you need to open the box cutter. This is usually done by pushing down on one end of the blade and sliding it out of the other end.
If your box cutter is locked, meaning that it won’t open no matter how hard you try, there may be a safety lock engaged. To design a box cutter, the blade is slightly shorter than the handle. So if you look closely at the end of your box cutter, you will see a little ridge or bump. This is what you need to push down on to unlock the blade.
Once the blade is open, be careful not to cut yourself!
Push down on one side of the blade with your thumb to hold it in place.
With one hand, hold down the side of the blade with your thumb. This will keep it in place while you work.
Now is a good time to mention that box cutter blades are extremely sharp! So be careful when handling them, and always keep your fingers out of the way.
If you’re having trouble holding the blade in place, try using a piece of tape to keep it in place. This will make it easier to work with and less likely to cut yourself. Once the blade is securely in place, you can proceed to the next step.
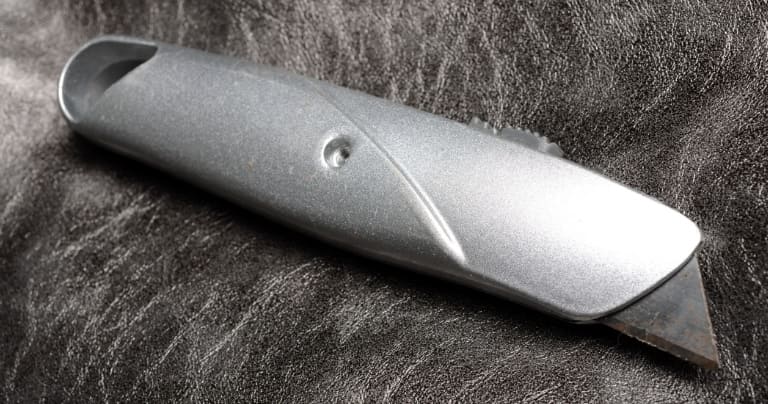
Use your other hand to twist off the old blade
With your other hand, twist the old blade counterclockwise until it comes off. You may need to use a little bit of force, but be careful not to break the blade.
Now that the old blade is off, you can proceed to the next step.
If you’re having trouble removing the old blade, try using a pair of gloves. This will give you a better grip and make it easier to remove the blade. Assuming you were successful in removing the old blade, it’s now time to install the new one.
Insert the new blade into the box cutter and twist it on (clockwise) until it’s tight
To install the new blade, simply insert it into the box cutter and twist it on clockwise until it’s tight. You may need to use a little bit of force, but be careful not to break the blade.
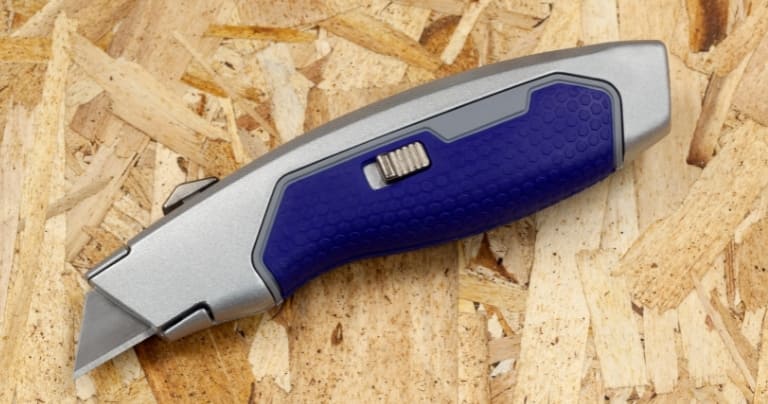
Test out the new blade by cutting through a piece of paper.
Once the new blade is installed, you can close the box cutter and test it out. Now is a good time to test out the new blade by cutting through a piece of paper or cutting rope, plastic sheet, If everything seems to be working properly, you’re all done!. If not, then you may need to adjust the blade or try a different one.
We hope this guide helped show you how to change a box cutter blade. If you have any questions or comments, please feel free to leave them below.
